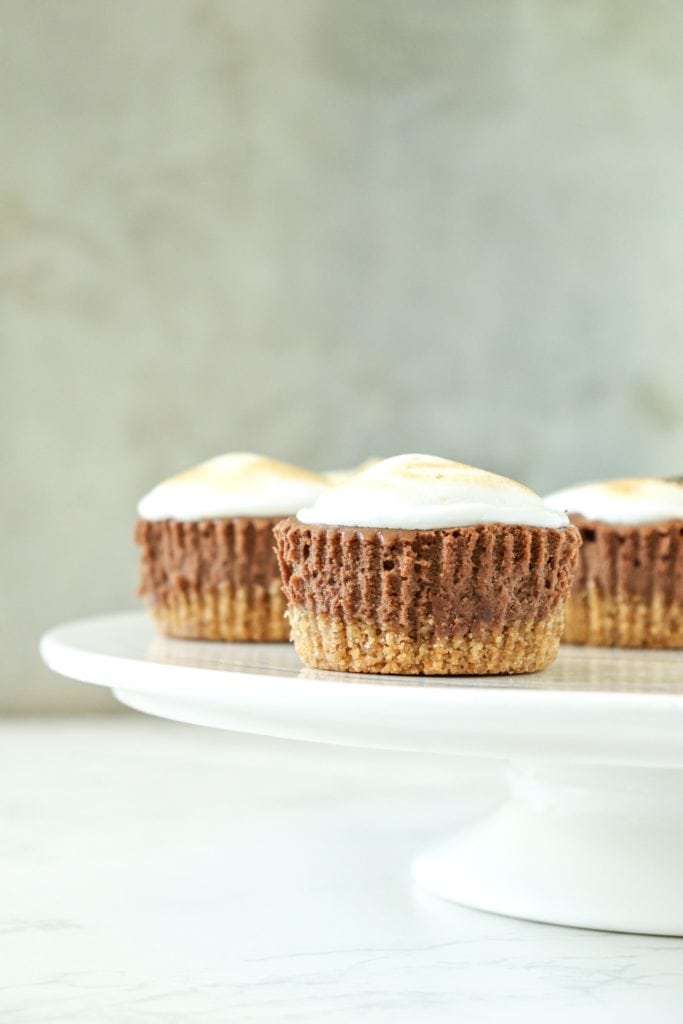
The ultimate cheesecake for summer, make these S'mores Mini Cheesecakes for your next barbeque! Creamy baked chocolate cheesecake atop a graham cracker crust finished off with toasted marshmallow!
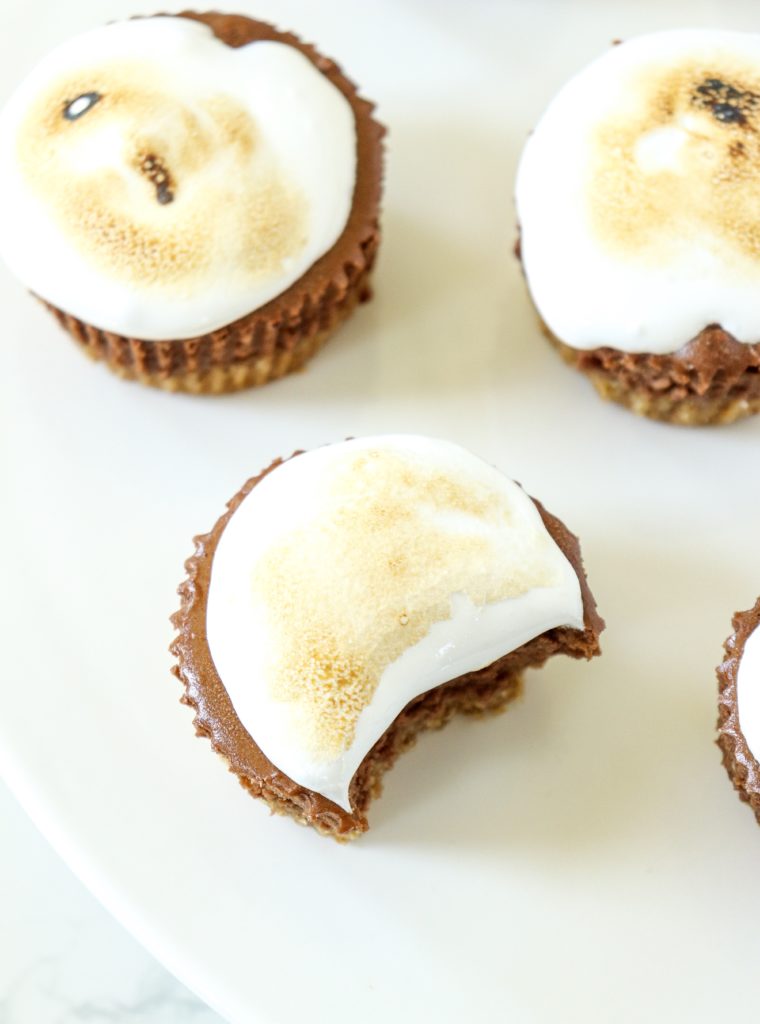
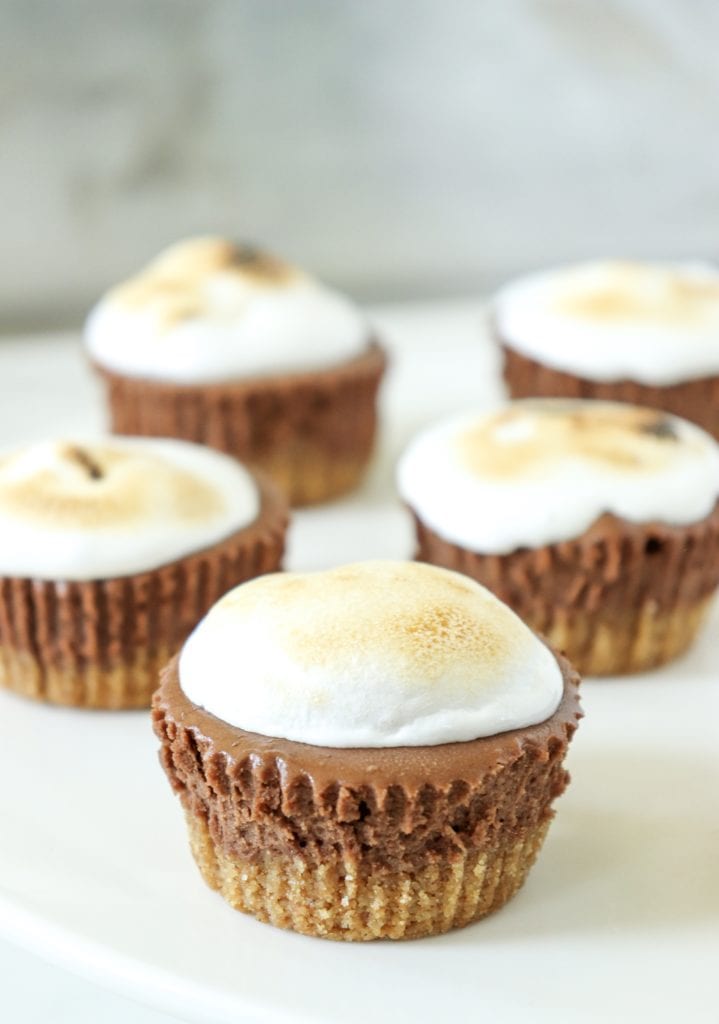
I love making cheesecakes. Both light, creamy no-bake cheesecakes and denser baked cheesecakes are irresistible in my opinion. There's really no end to the possibilities for flavor combinations when it comes to cheesecake! Some cheesecake flavors I've done include Funfetti Oreo, Mini Egg, Chocolate Raspberry, and even Eggnog!
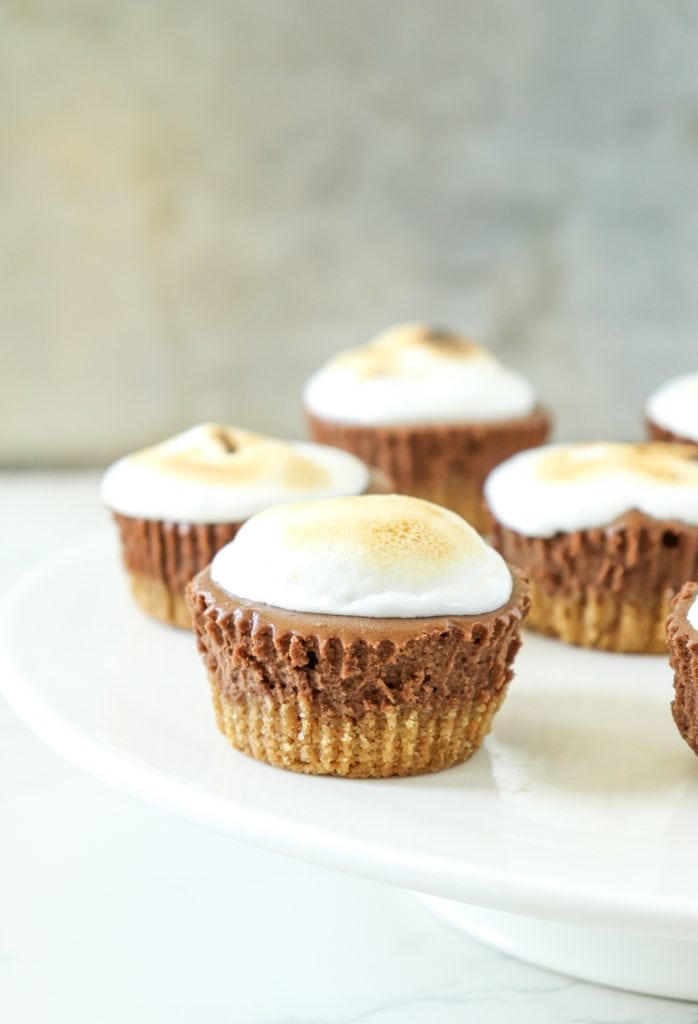
These S'mores Mini Cheesecakes consist of 3 layers. First, a buttery graham cracker crumb crust. Then, a rich, creamy baked chocolate cheesecake layer. Lastly, they are topped with either marshmallow creme or half of a large marshmallow that is torched to toasty perfection!
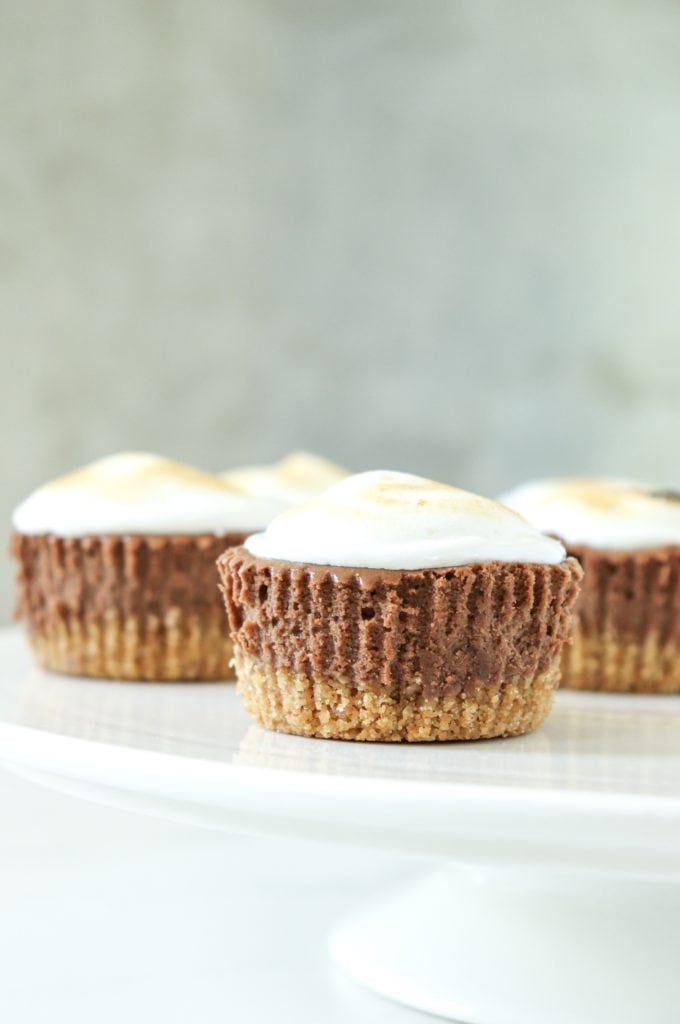
If you don't already own a kitchen torch, I recommend this one that I have from Amazon for under $20! It has served me well and is a very affordable option.
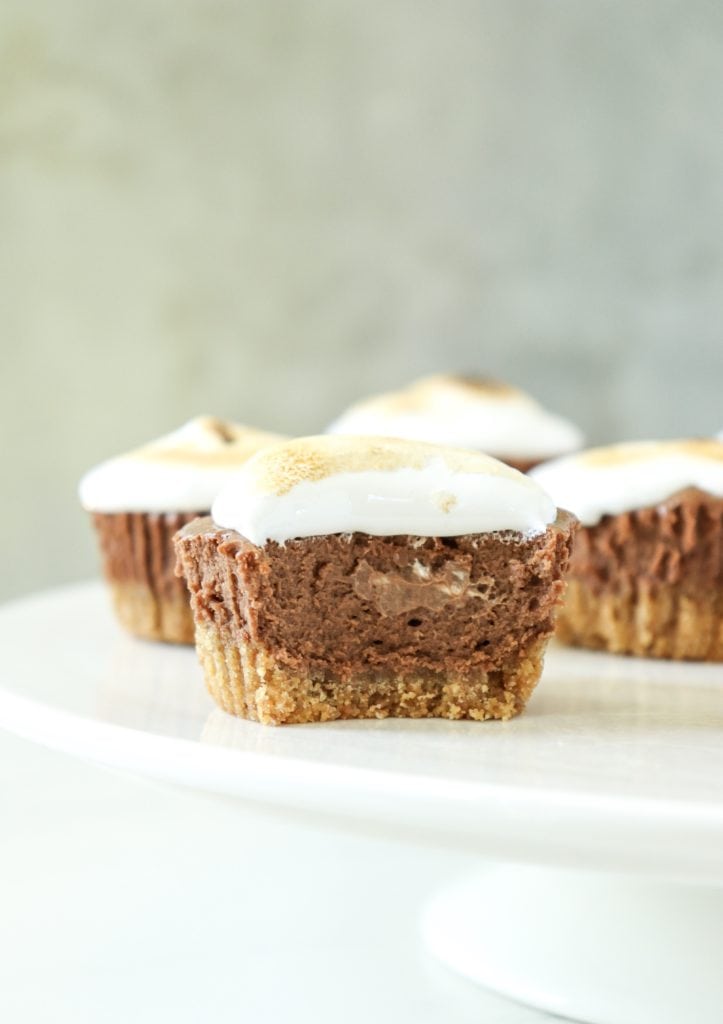
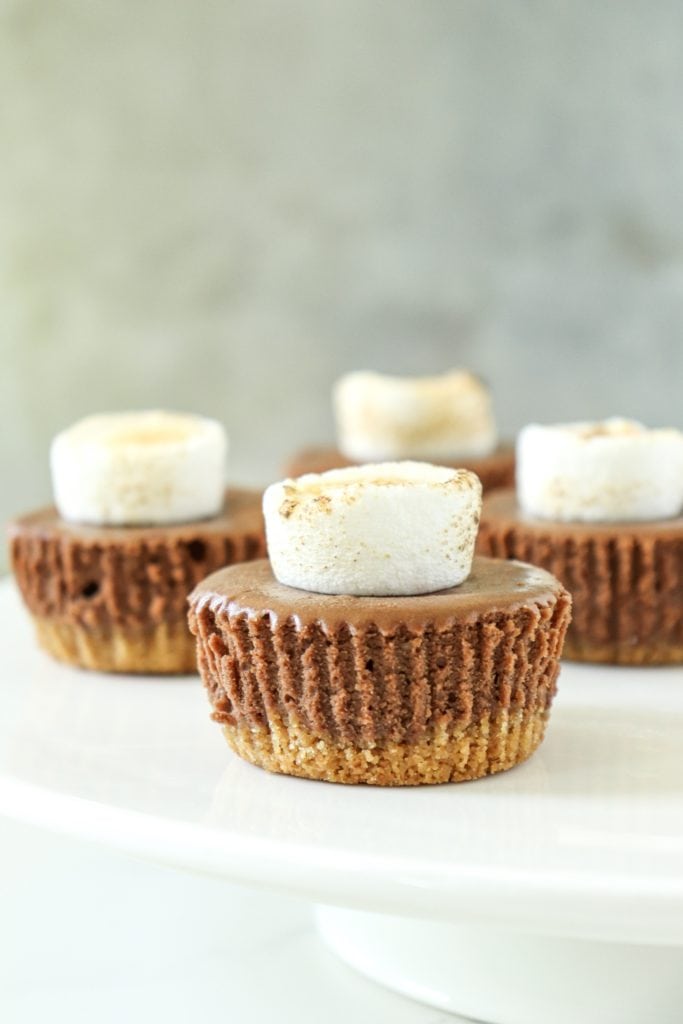
If you make this recipe, I invite you to please share an honest review in the comments below, or share on social media using #kneadsomesweets!
📖 Recipe
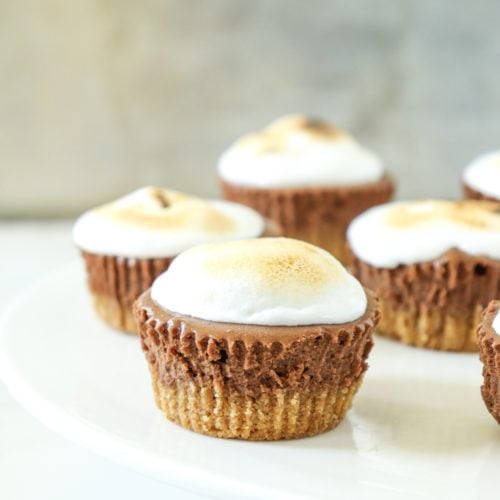
S'mores Mini Cheesecakes
Equipment
- 12-count muffin tin
- cupcake liners
- mixing bowls
- electric handheld mixer
- measuring cups & spoons
- rubber spatula
- kitchen torch
Ingredients
For the Crust:
- ¾ cup graham cracker crumbs
- 1 tablespoon granulated white sugar
- 3 tablespoons salted butter melted
For the Batter:
- 8 ounces cream cheese softened to room temperature
- ⅓ cup granulated white sugar
- 1 whole egg
- 1 teaspoon vanilla extract
- 2 tablespoons all-purpose flour
- ½ cup semisweet chocolate chips melted
- ⅓ cup heavy cream
For the Topping:
- ¾ cup marshmallow fluff or 6 large marshmallows cut in half
Instructions
- Preheat the oven to 350℉. Line a 12-count muffin tin with cupcake liners.
- Stir together the graham crumbs, white sugar (1 tablespoon), and melted butter in a medium-sized bowl. Scoop about 1 tablespoon of the crust mixture into the bottom of each cupcake liner and pack down to make a crust for each cheesecake. Set aside.
- In a large bowl cream together the softened cream cheese and white sugar (⅓ cup) until smooth. Add the egg, vanilla, and flour and beat on medium speed until creamy.
- Place the chocolate chips in a heat-safe bowl. Heat the whipping cream in a heat-safe container in the microwave in 20-second intervals until the cream is very hot and steaming but not boiling. Pour the heated cream over the chocolate chips to cover them and let sit for 2 minutes to let the hot cream melt the chocolate. Stir until fully combined.
- Add the chocolate/cream mixture to the cheesecake batter and fold to incorporate. Distribute the finished batter evenly between all 12 liners on top of the prepared crust. Tap the pan on the counter a few times to settle the batter and release any air bubbles.
- Bake in the preheated oven for 17-20 minutes or until the cheesecakes just start to crack on the tops. Remove from oven and let cool in the pan for 30 minutes before gently removing the cheesecakes in their liners from the pan. Finish cooling the cheesecakes in the refrigerator for at least 2 hours before adding the topping to serve.
- Right before serving, top each cooled cheesecakes with either 1 tablespoon of marshmallow creme or ½ of a large marshmallow and torch until golden and toasty. Serve immediately. Enjoy!
Nutrition
Love and Cookies,
Naomi
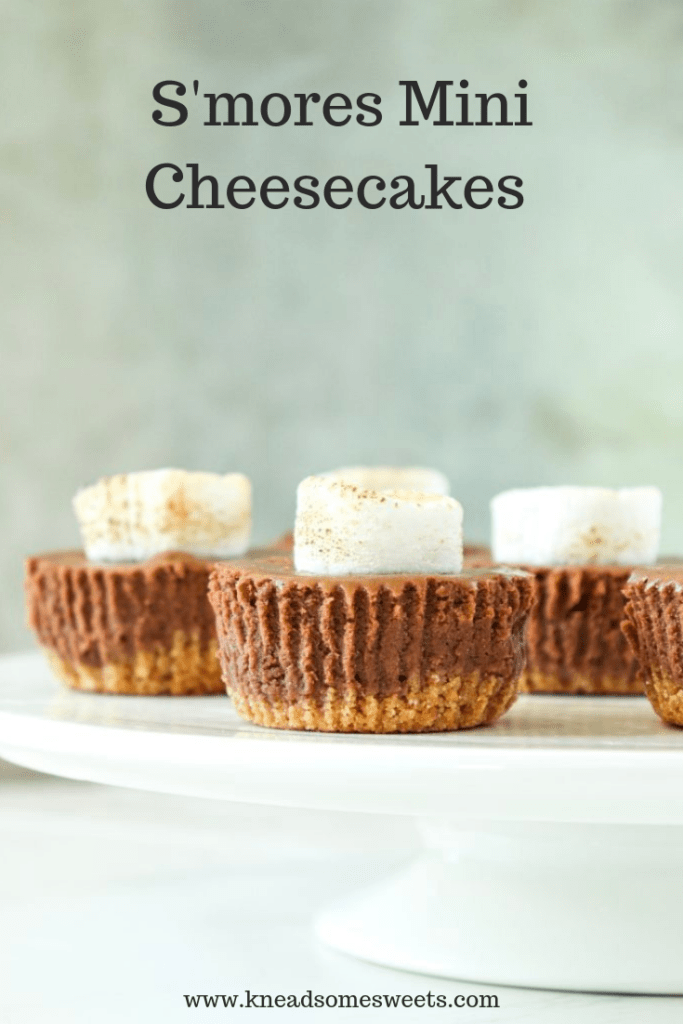
Pin this recipe ↓


Leave a Comment