
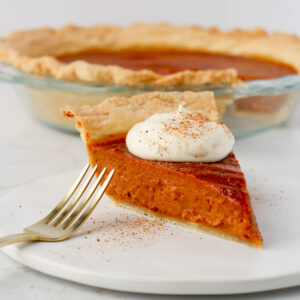
Delicious homemade Pumpkin Pie made completely from scratch with a rich, smooth, perfectly spiced filling and the most flakey all-butter crust! Serve with plenty of whipped cream, of course!

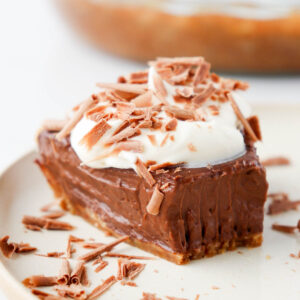
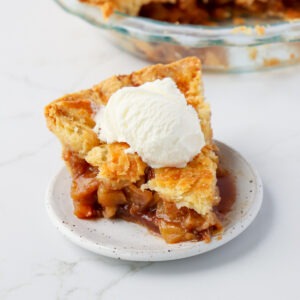
This one is for the pumpkin pie fans out there! I know it is a little bit of a controversial topic as some people just really aren't fans. But I have an amazing recipe for apple pie or my delightful brownie pecan pie for them to enjoy instead. I would advise making all three pies for Thanksgiving. Just in case, you know!
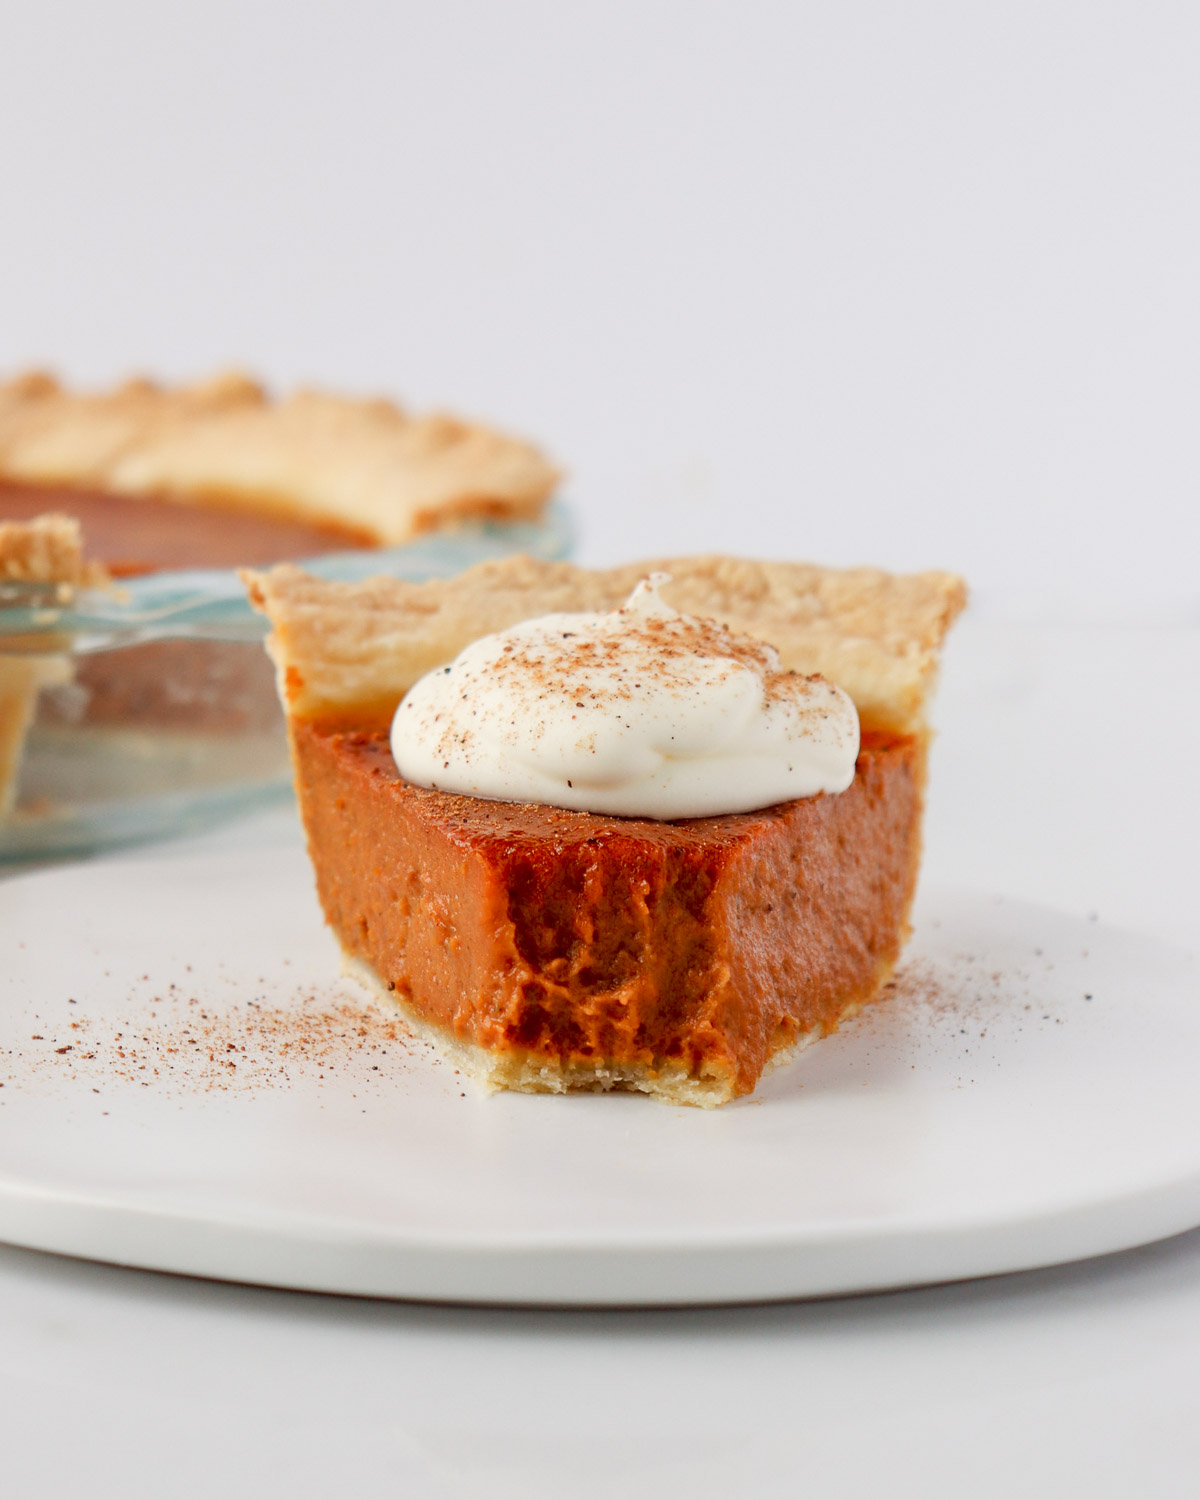
But if you are crazy about pumpkin pie, this recipe is definitely for you! The flakey butter pie crust tastes so good with the rich and spicy pumpkin pie filling. This pie is made entirely from scratch - crust and filling. You could, of course, make it a little easier by using a premade crust, if that suits your fancy!
Jump to:
⭐️ Why You Need to Make This Recipe
- Made completely from scratch yet very achievable, this pie will make you feel like a little homemaker.
- Spicy Pumpkin Bliss. This pie filling is flavoured with cinnamon, ginger, nutmeg, cloves, and black pepper for a delightful burst of cozy spice!
- Rich + Satisfying. Butter, egg yolks, heavy cream, and brown sugar build a very rich dessert. Don't forget the whipped cream on top too!
🧈 Ingredients
Here are the ingredients needed to make this flavourful pumpkin pie from scratch.
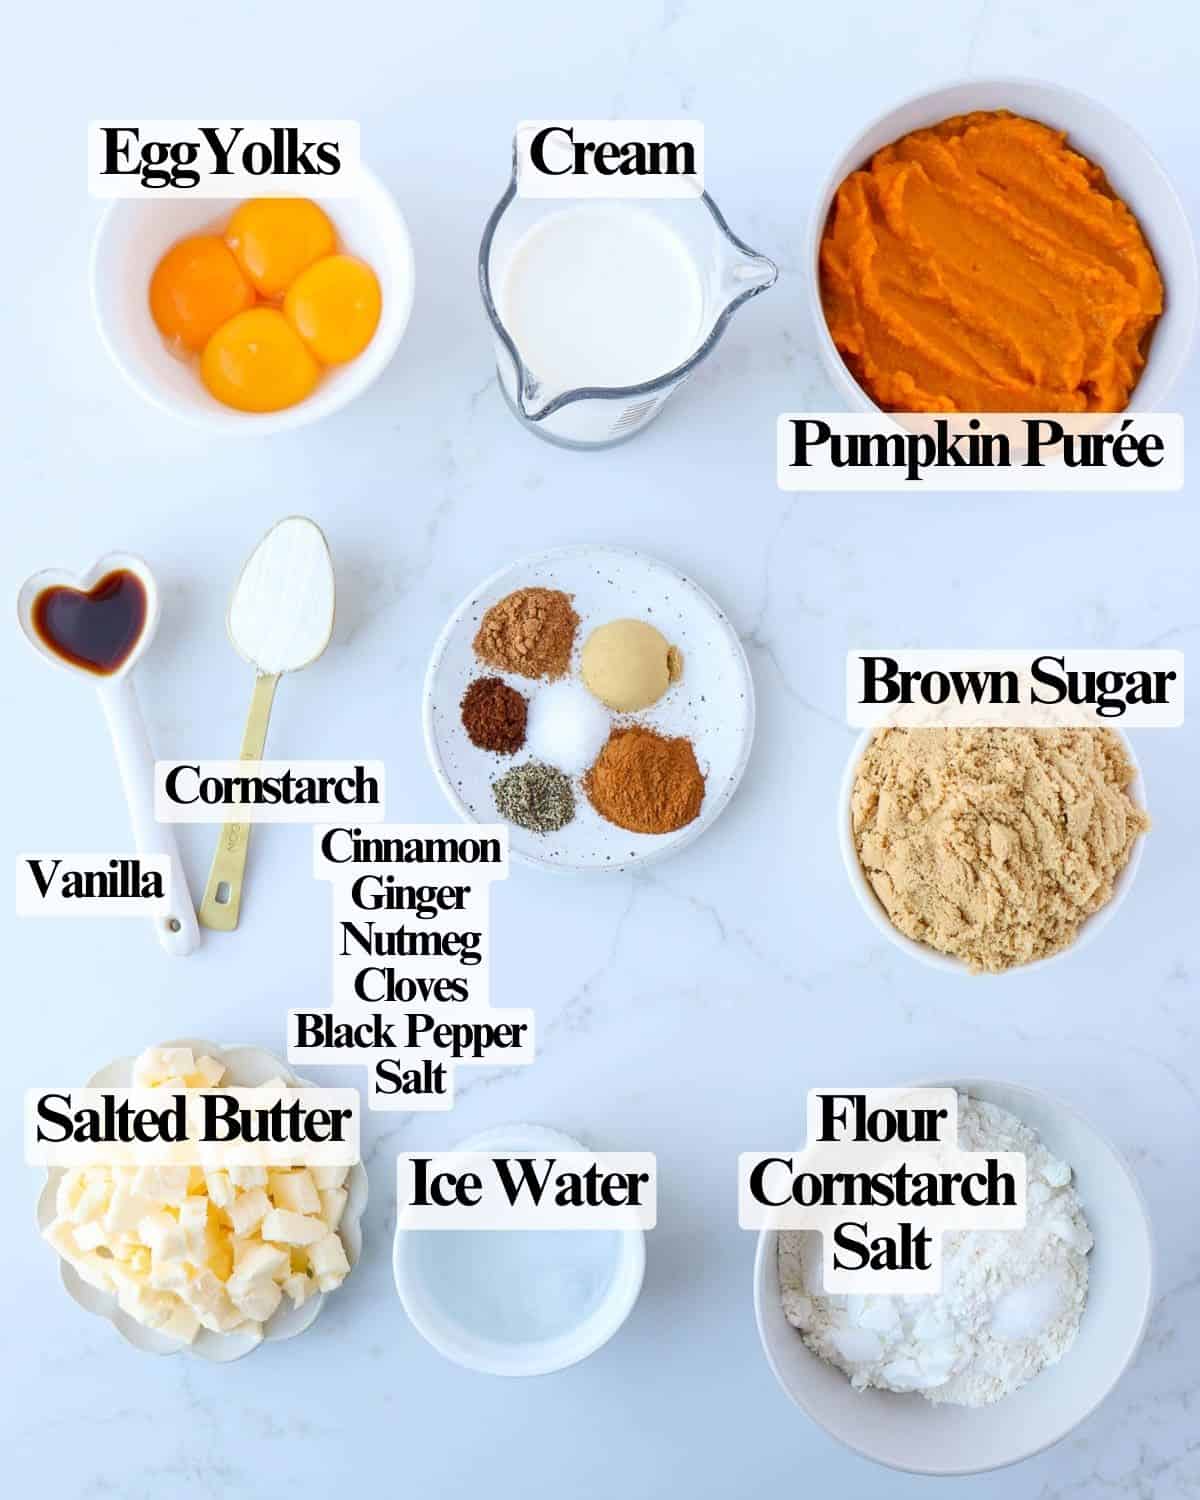
- Flour - Simple all-purpose flour.
- Cornstarch - For the pie pie to help create a flakey crust and to thicken the filling.
- Salt - Some for the crust and some for the filling, salt helps flavours come to life in cooking and baking.
- Cold Salted Butter - Cold from the refrigerator and cut into small cubes. See my substitution notes in the recipe if you are using unsalted butter.
- Ice Water - We want to keep the dough cold so that the butter doesn't melt while we are working with it.
- Pumpkin Purée - The star of the show! Just make sure you buy "purée" or "pure canned pumpkin", not canned pumpkin pie filling.
- Brown Sugar - Adds sweetness and a depth of cozy flavour.
- Egg Yolks - Use the egg whites for another recipe, such as Pavlova.
- Heavy Cream - Also called whipping cream.
- Vanilla Extract
- Spices - A blend of cinnamon, ginger, nutmeg, cloves, and black pepper. I got the black pepper idea from Sally's Blog.
See the recipe card for measurements.
📃 Instructions
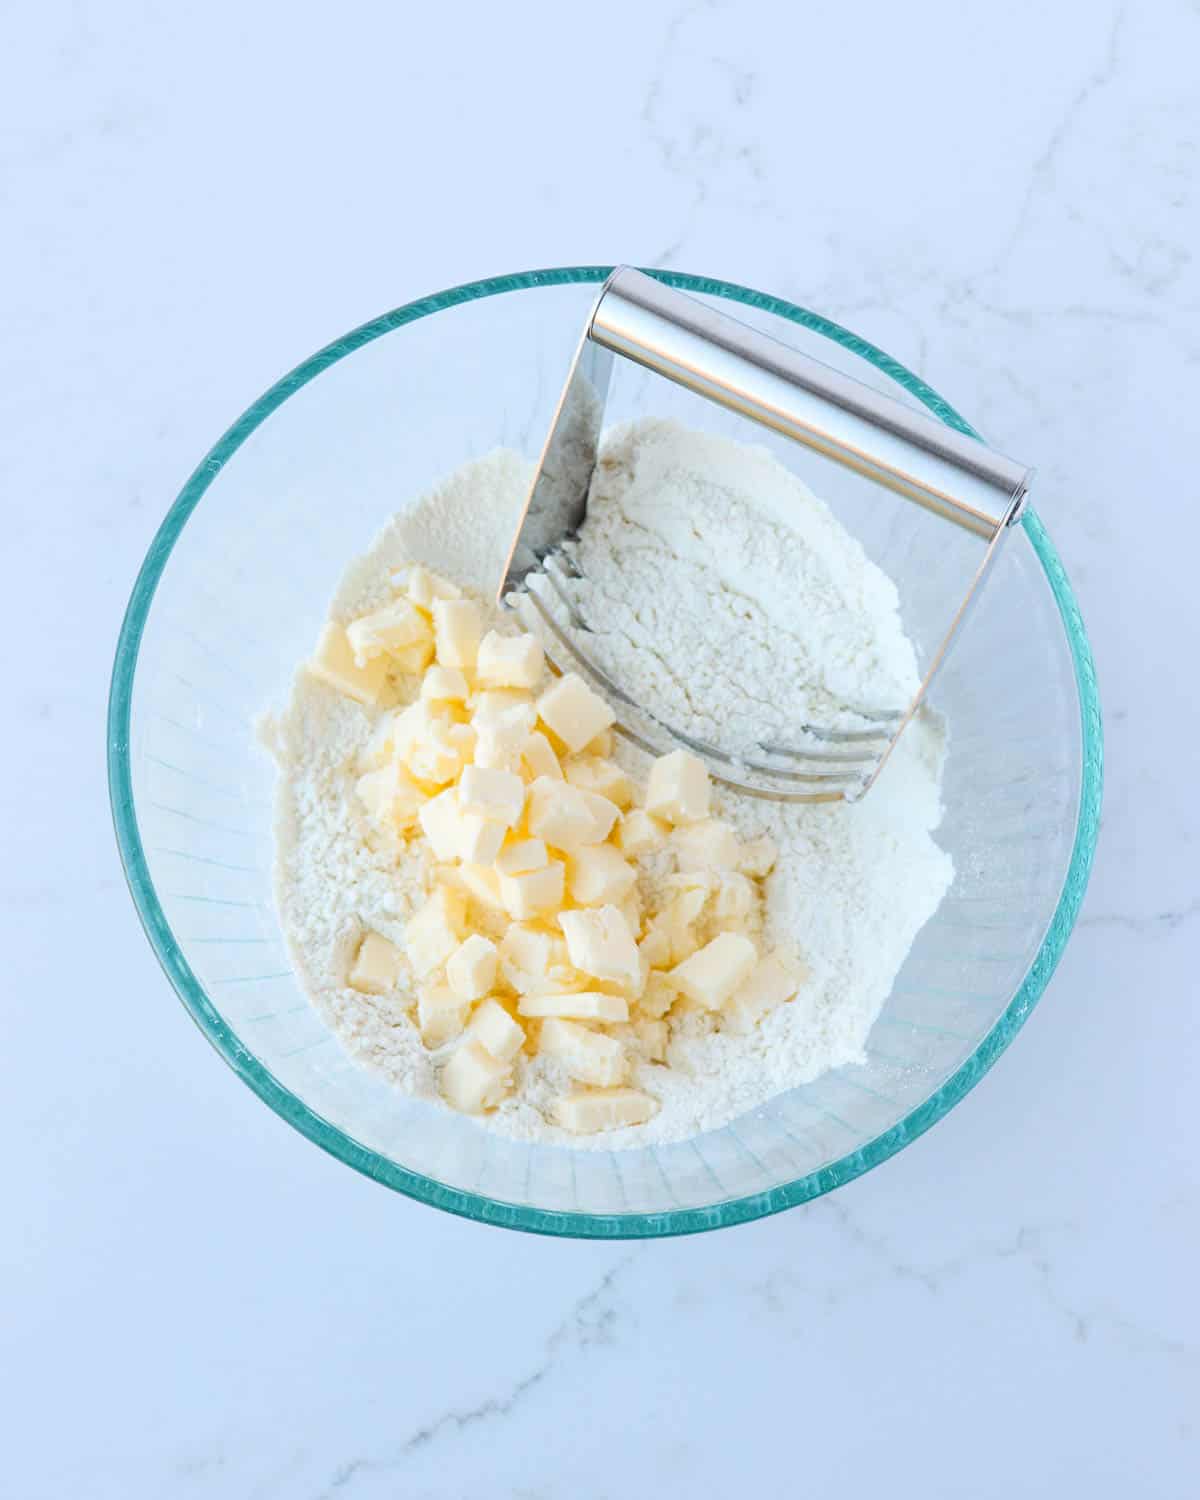
Step 1: Whisk together the flour, cornstarch, and salt. Add the cubes of cold butter.
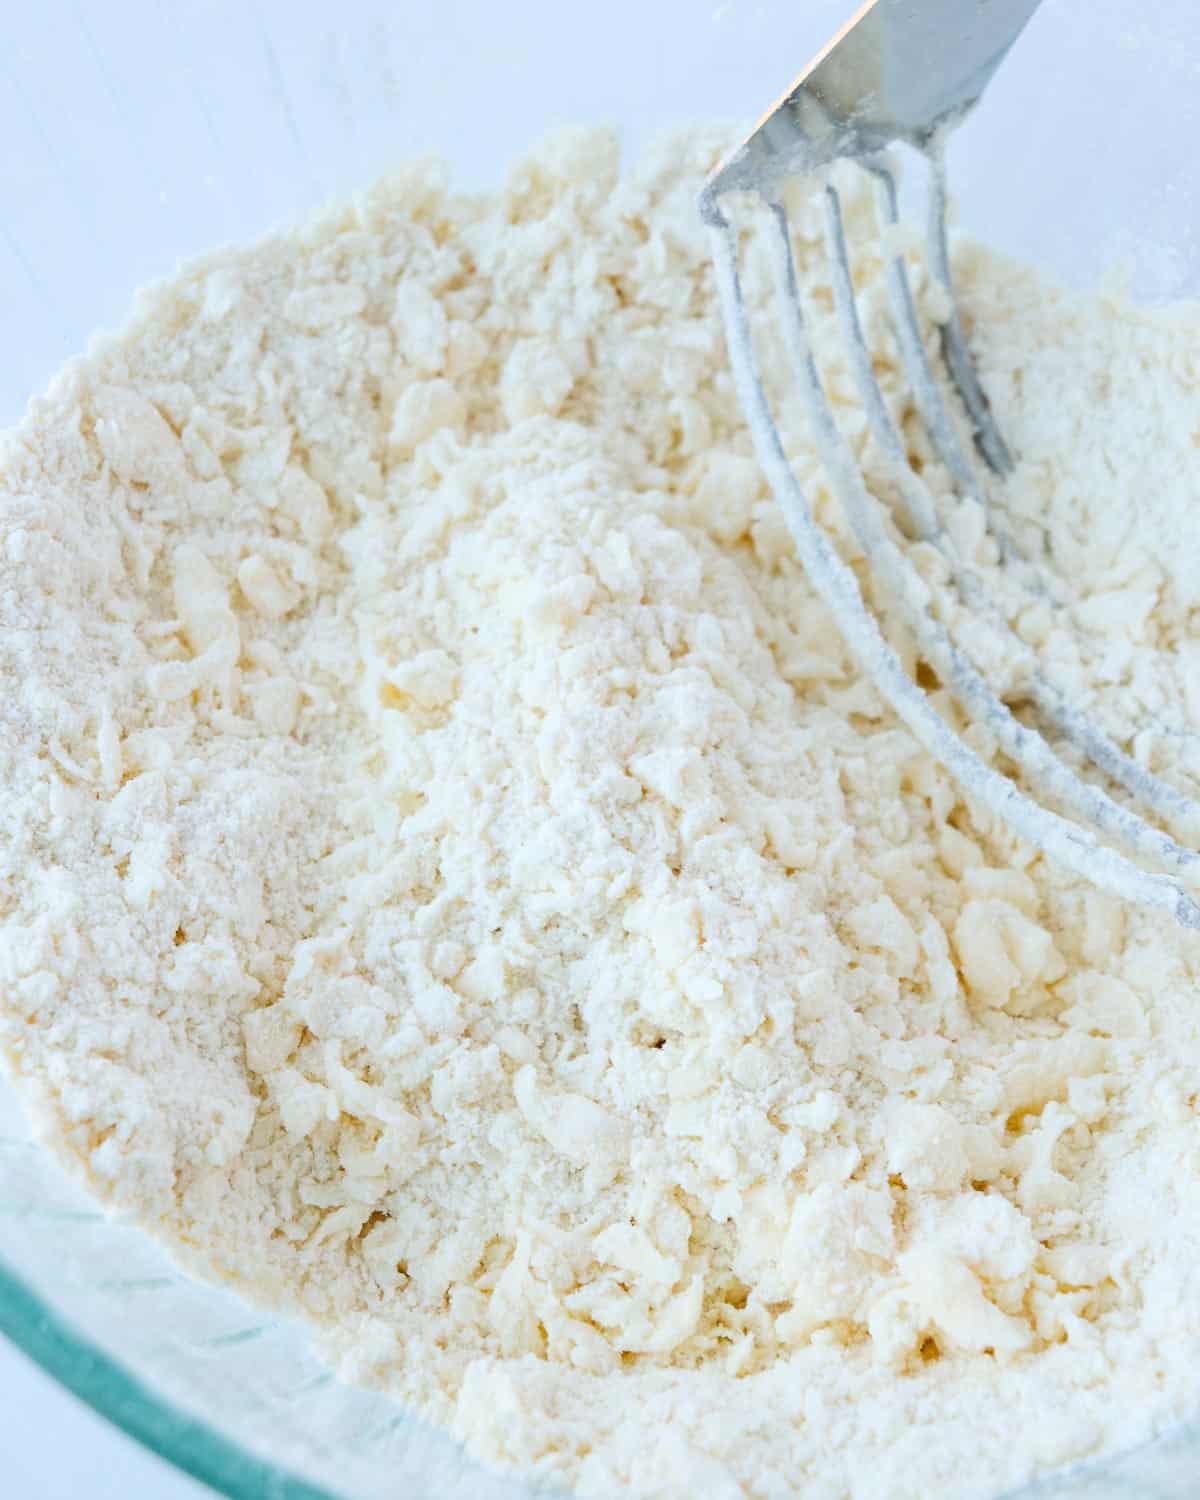
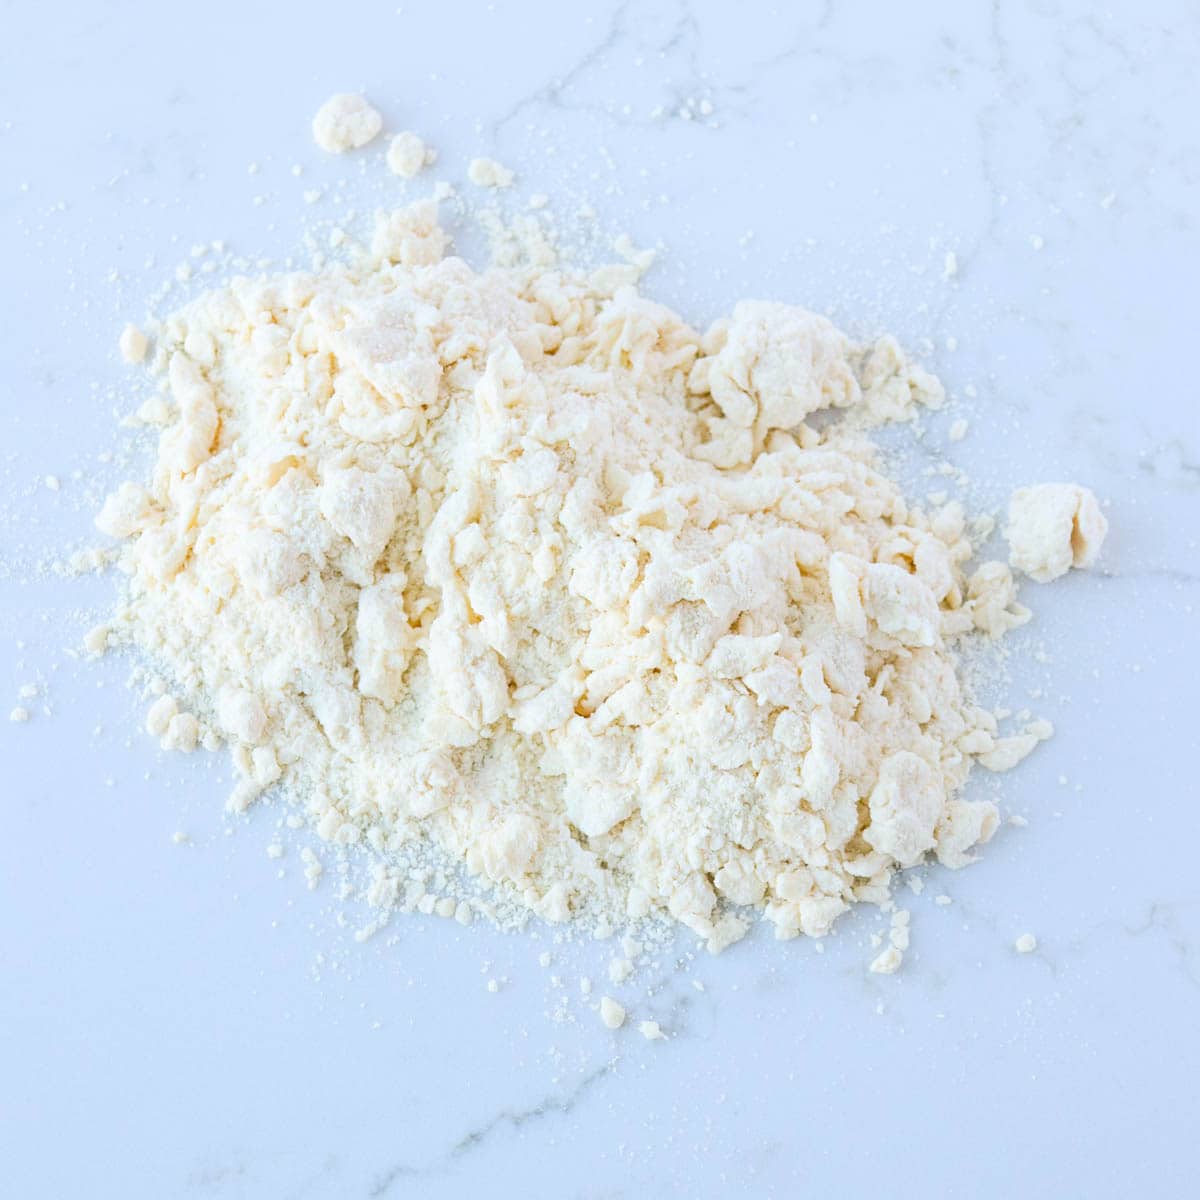
Step 2: Work the butter in with a pastry cutter until the mixture looks like this.
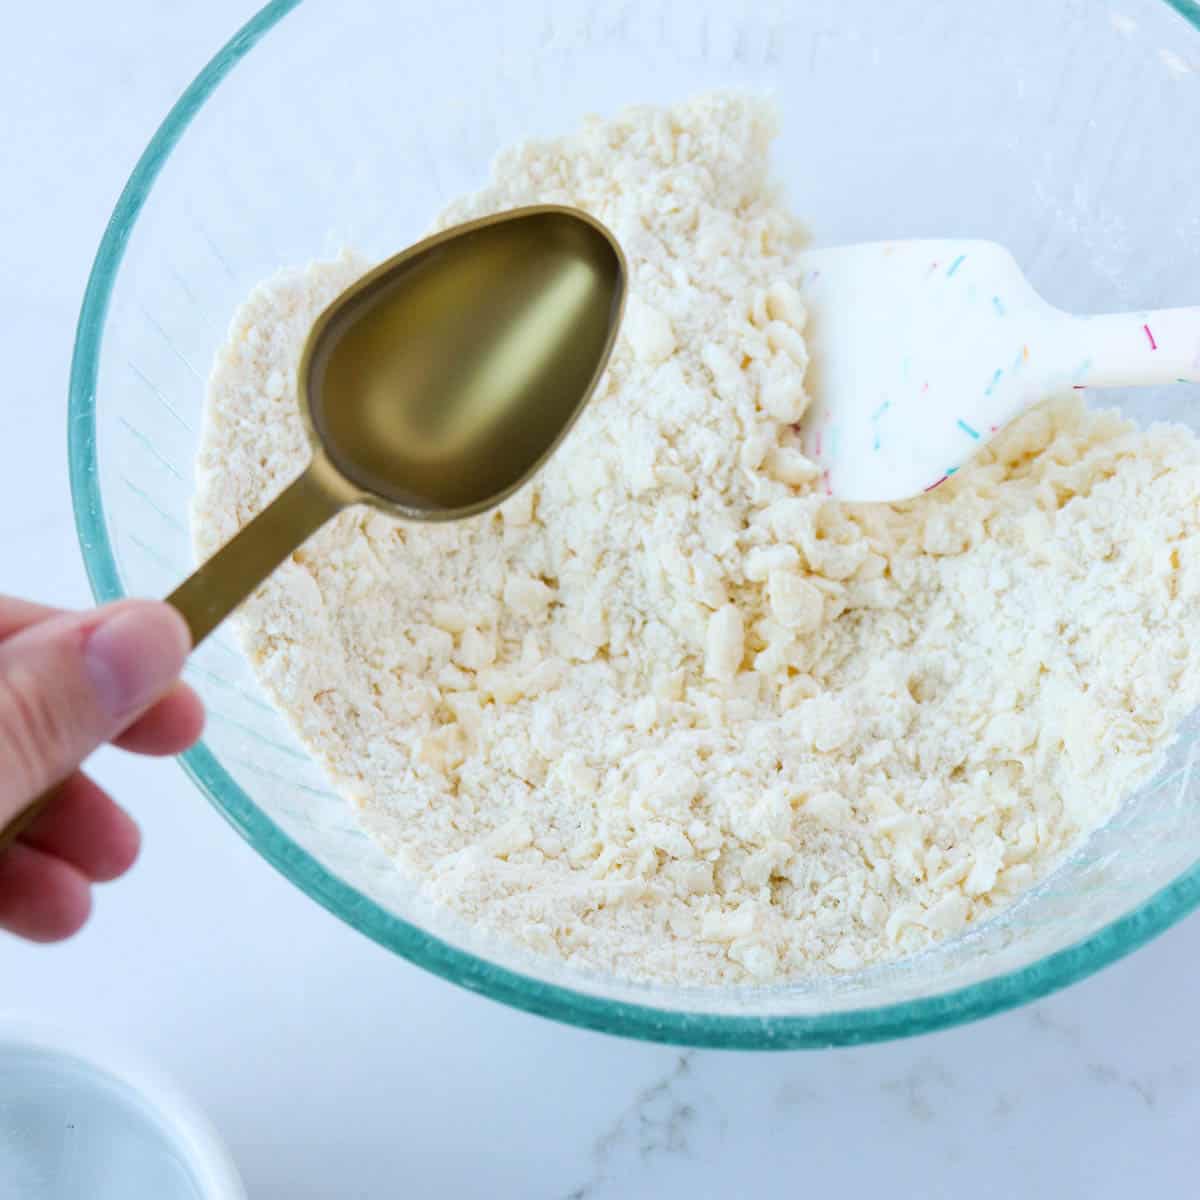
Step 3: Add ice water, 1 tablespoon at a time until the dough just starts to come together.
Step 4: Turn onto a flour counter and gently knead/press together to form a dough.
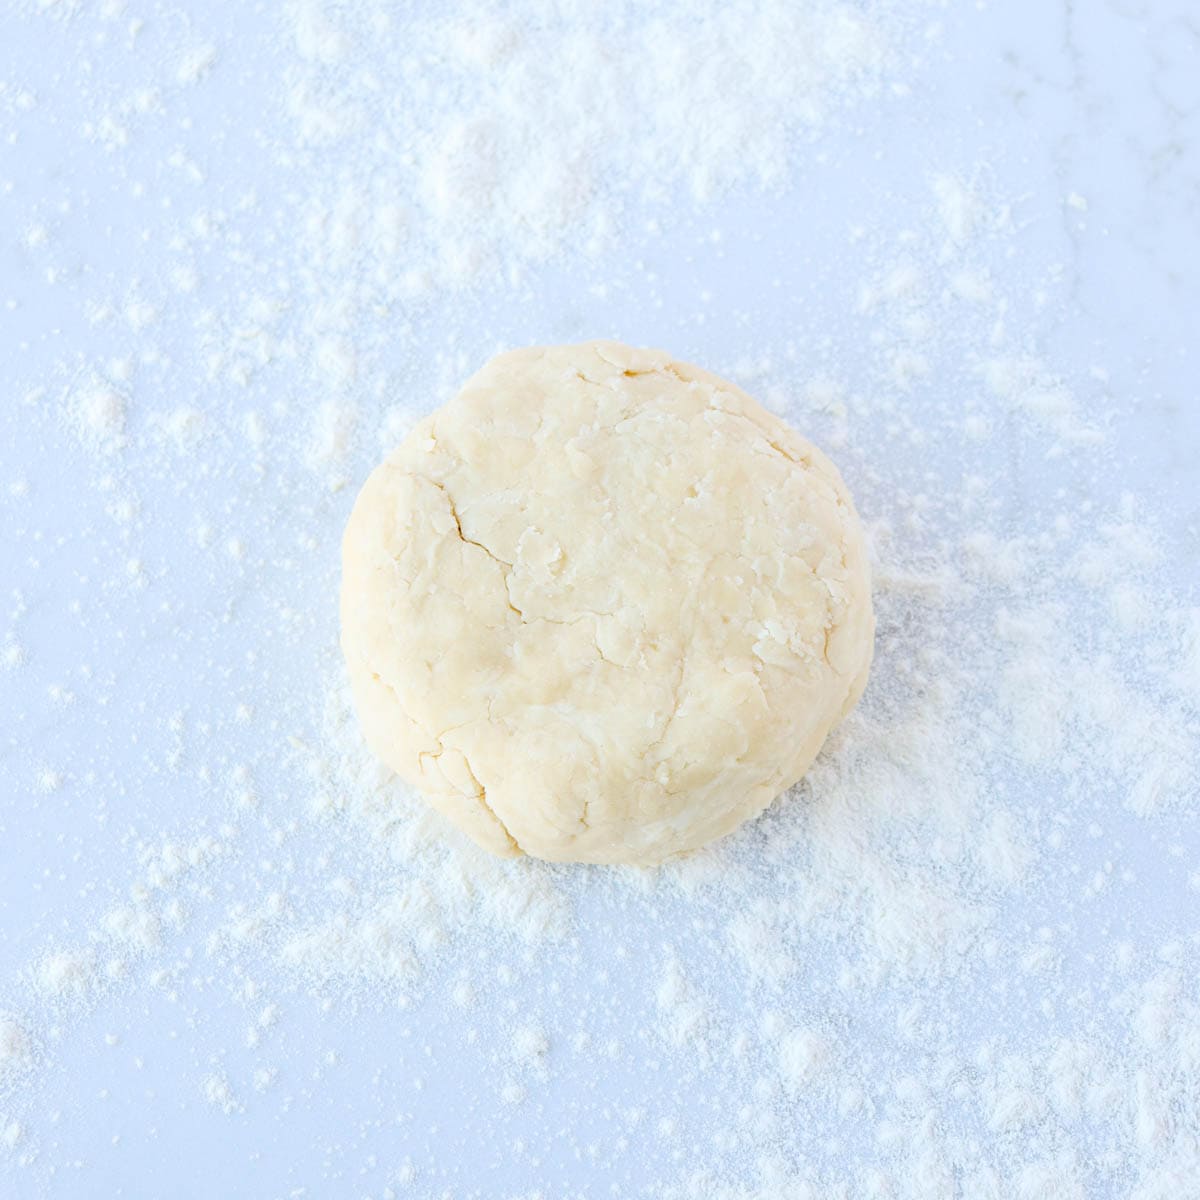
Step 5: Form the dough into a disk and sprinkle generously with flour.
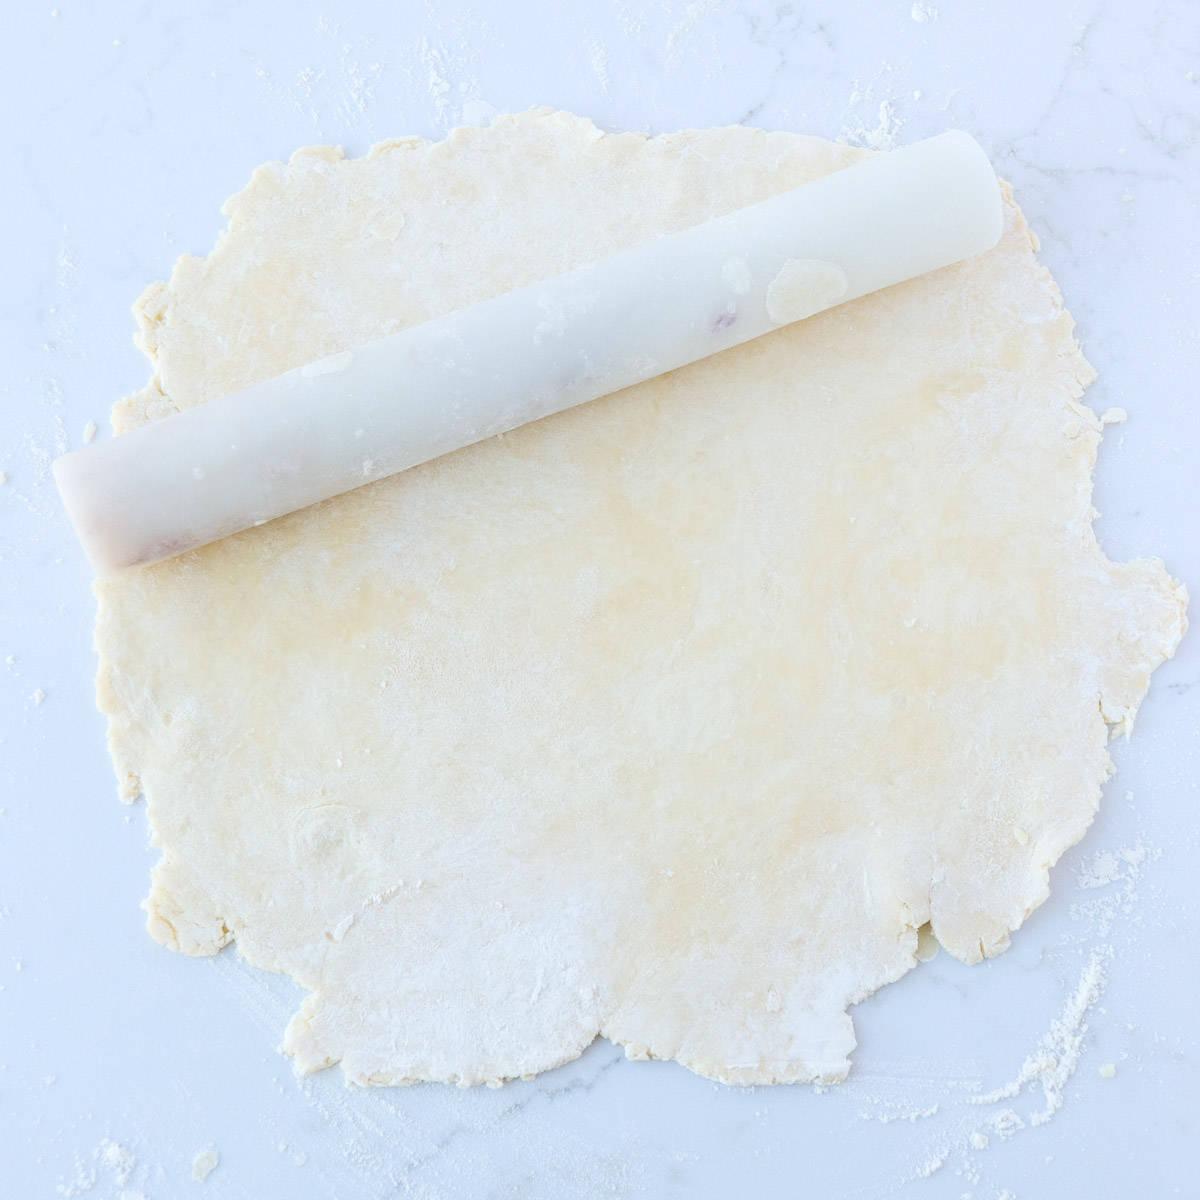
Step 6: Roll out using a rolling pin into a round around 12 inches in diameter, adding flour as needed.

Step 7: Place in the pie plate and generously coat the bottom of the crust with flour.
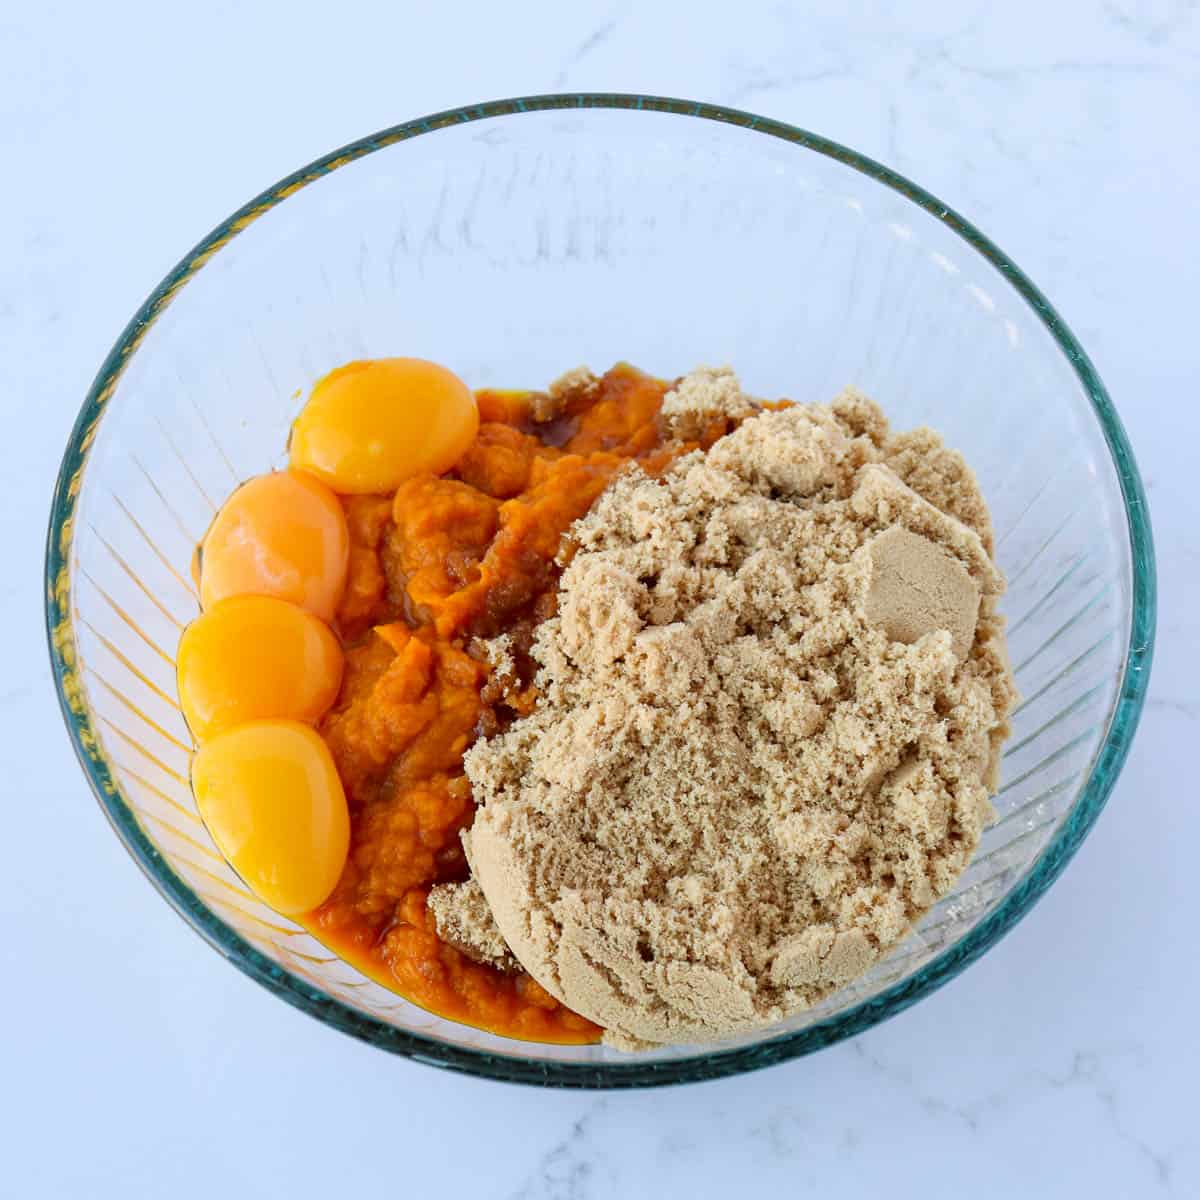
Step 8: In another bowl, whisk together the pumpkin purée, brown sugar, and egg yolks.
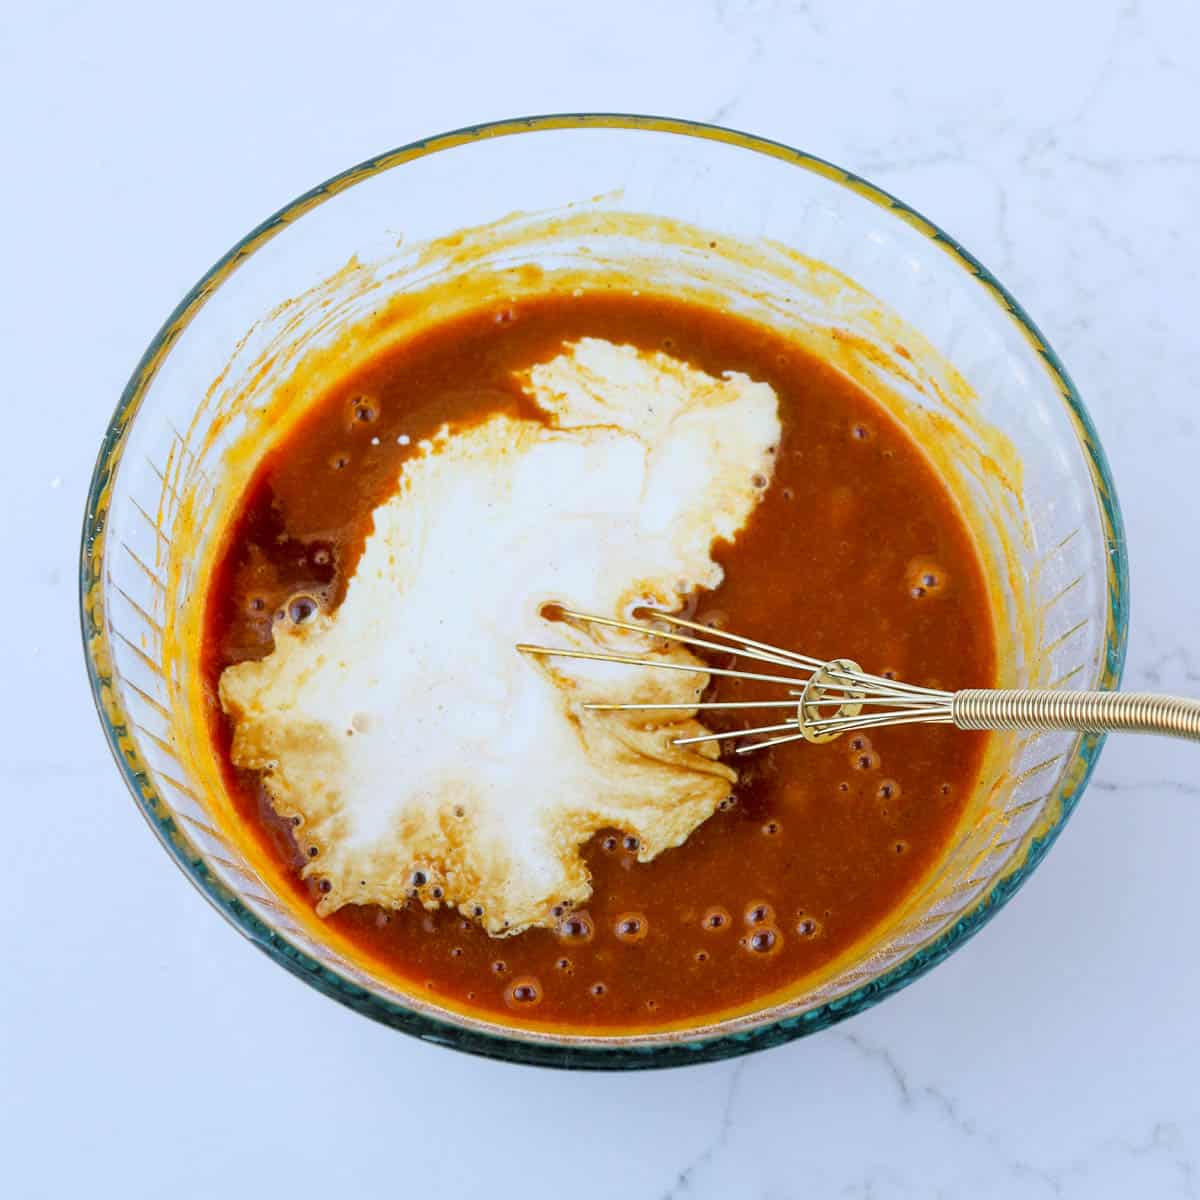
Step 9: Add the cornstarch, spices, salt, cream, and vanilla extract and whisk until smooth.
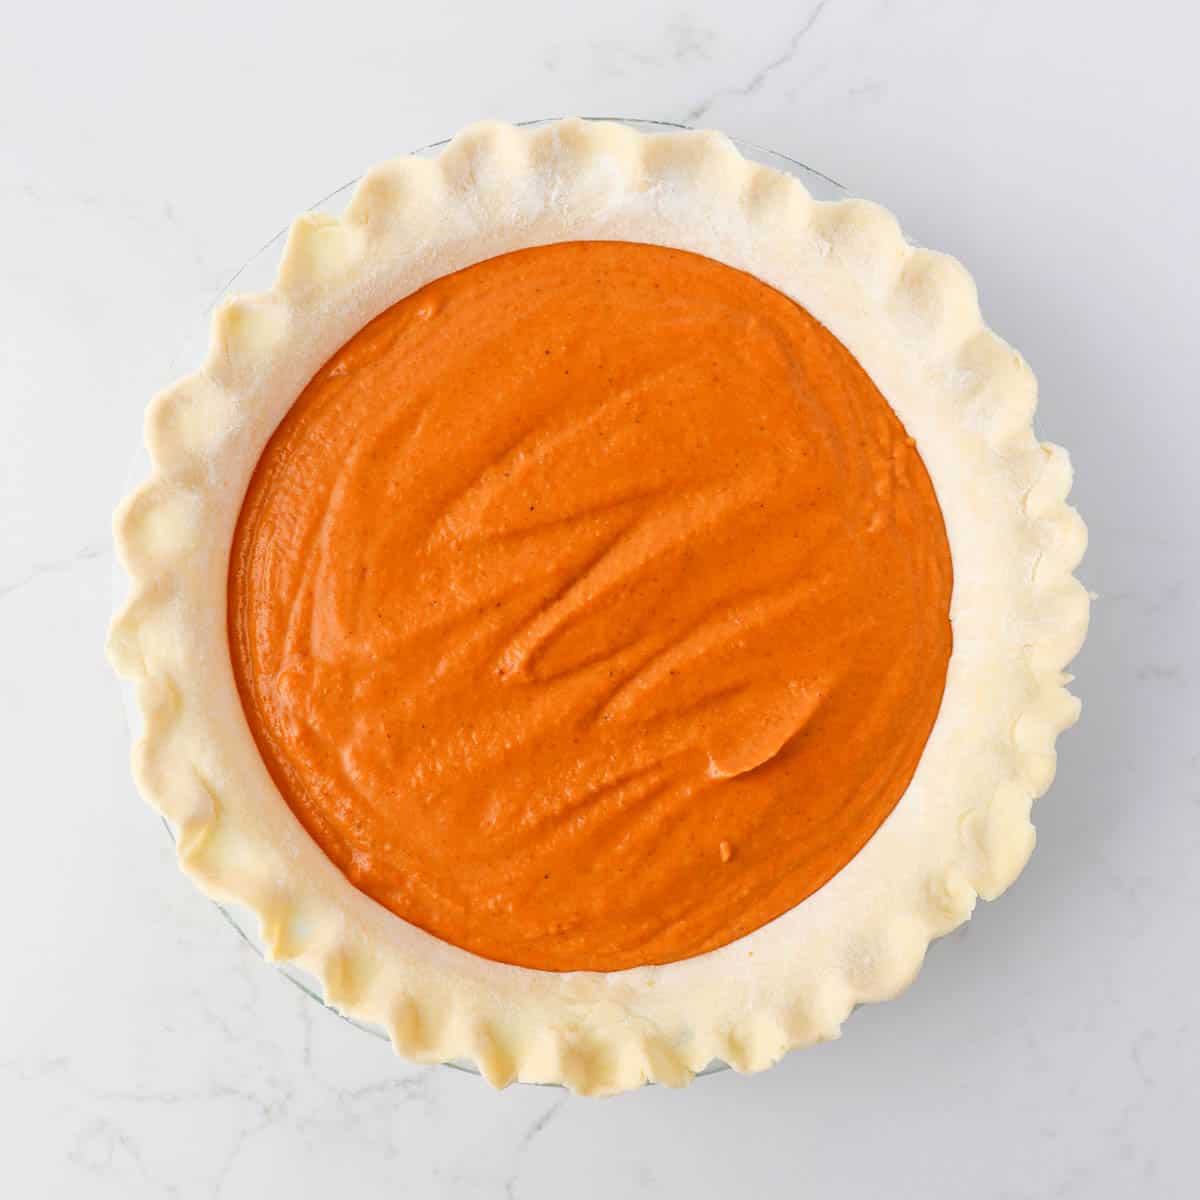
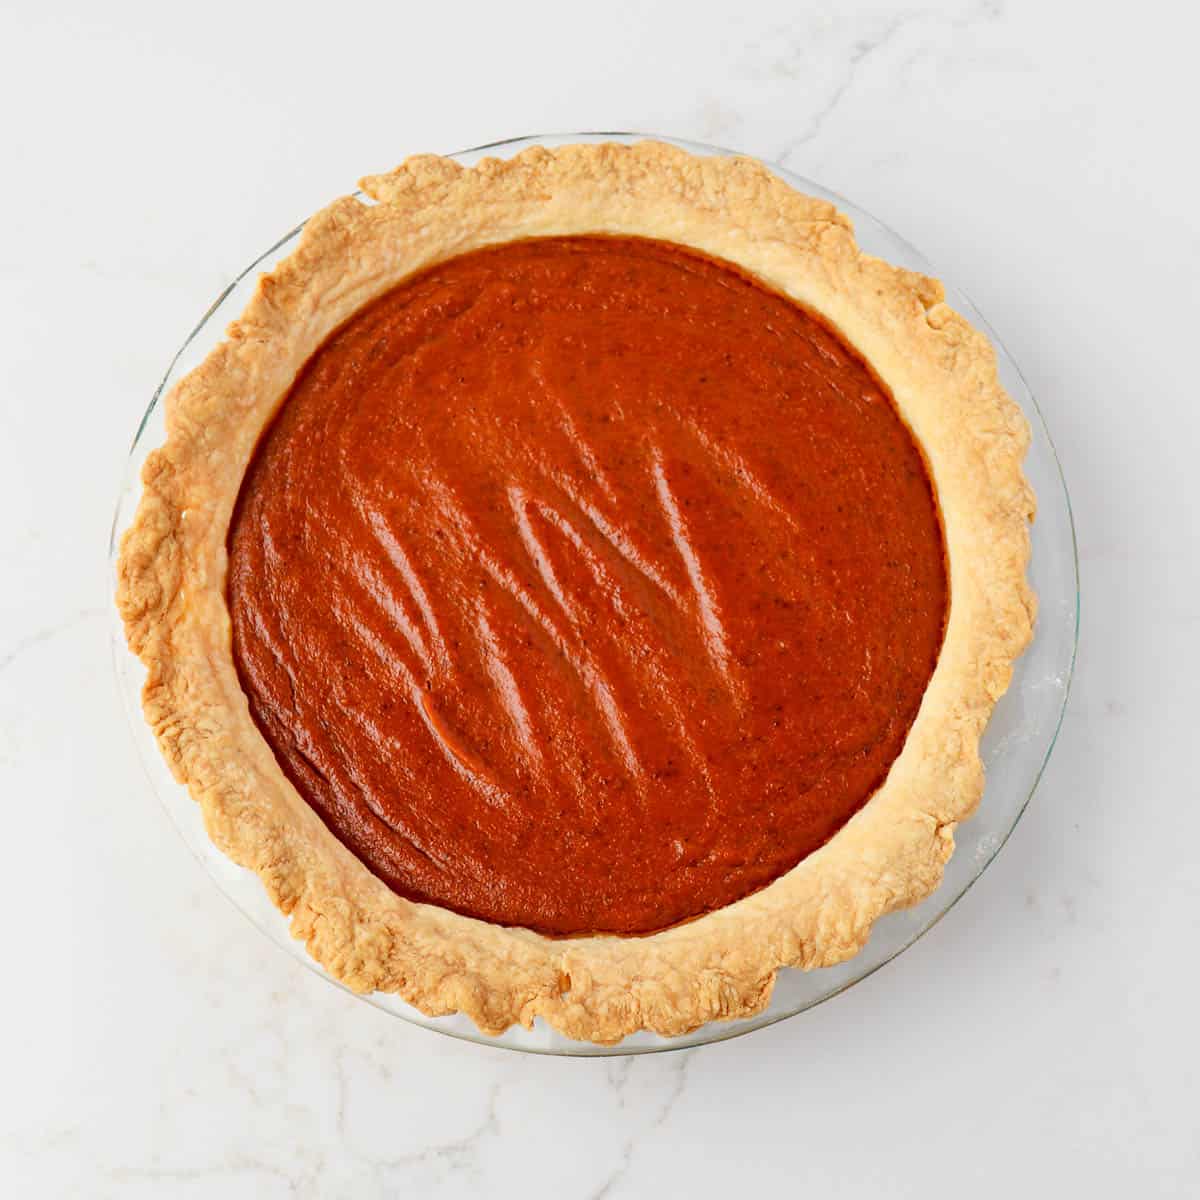
Step 10: Pour into the prepared crust and crimp the edges of the crust as desired. Bake in a preheated oven for 45-55 minutes or until the crust is golden and the filling is only slightly jiggly in the center.
📝 Substitutions
Here are some possible swaps for ingredients you might not have.
- Salted Butter - Unsalted butter works too, just add ¼ teaspoon of salt in addition to the salt called for in the crust.
- Spices - Use 1 tablespoon of a pumpkin pie spice blend in place of all the individual spices.
- Brown Sugar - 1 cup of white sugar plus 1 tablespoon of molasses can be used if you don't have brown sugar.
❄️ Storage
Store fully cooled pumpkin pie covered in the refrigerator for up to 4 days.
Tip: The pie is best fresh after cooling to room temperature as the crust will still be flakey.
💡 Top Tip
Be sure to bake up this pie with enough time to allow it to cool to room temperature before serving so that the filling will be fully set.

❓ FAQ
Either! Whatever you prefer. Allow pumpkin pie to cool to at least room temperature for the filling to set properly. Then, serve at room temp or refrigerate and serve cold.
Yes. Because of the eggs in pumpkin pie, they definitely need to be refrigerated to store safely.
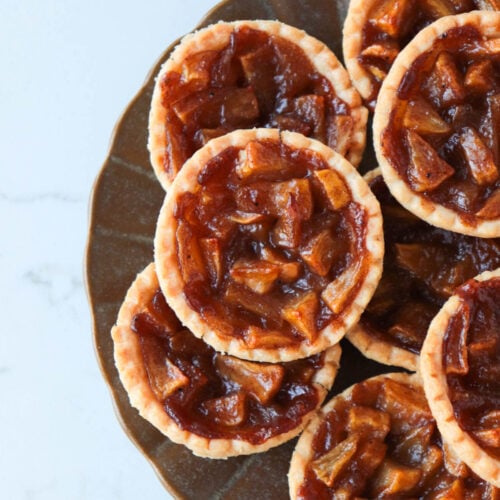
🥧 More Pie Recipes
Looking for more yummy pies and tarts to try next? Here are some ideas:


If you tried this Homemade Pumpkin Pie or any other recipe on my website, please leave a ⭐️ star rating and write a little note telling me how it went in the comments below. Thank you!!
📖 Recipe
Homemade Pumpkin Pie
Equipment
- saucepan
- whisk
- measuring cups & spoons
- mixing bowls
- pastry cutter
- rolling pin
- 9-inch pie pan
Ingredients
For the Crust:
- 1 cup all-purpose flour
- 1 tablespoon cornstarch
- ¼ teaspoon salt
- ½ cup cold salted butter *cubed
- 2-3 tablespoons ice water
For the Filling
- 2 cups pumpkin purée
- 1 cup brown sugar *packed
- 4 egg yolks
- 1 ½ tablespoons cornstarch
- 1 teaspoon ground cinnamon *
- 1 teaspoon ground ginger *
- ¼ teaspoon ground nutmeg *
- ¼ teaspoon ground cloves *
- ½ teaspoon salt
- ¾ cup whipping cream
- 1 teaspoon vanilla extract
Instructions
- Preheat the oven to 350℉.
To make the Crust:
- In a medium-sized mixing bowl, stir together the flour, cornstarch, and salt. Cut the cold, cubed butter into the flour mixture using a pastry cutter until the butter pieces are no bigger than peas. Add ice water, starting with 1-2 tablespoons and adding up to 3 in total or just until the dough starts to hold together when pinched. Turn onto a counter and form together into a disk with your hands. Generously flour the counter and the top of the disk of dough and begin to roll out into a circle about 10 inches in diameter. It does not have to be a perfect circle, just the general shape.
- Transfer the 12-inch round of dough to an ungreased 9-inch pie pan. Gently work out any air pockets on the bottom and sides. Trim the scraps from the edges and style the edge of the crust as desired. Coat the bottom and sides of the pie crust with a generous coat of flour (This helps prevent the crust from going soggy).
To make the Filling:
- Whisk together the pumpkin purée, brown sugar, and egg yolks. Add the cornstarch, spices, salt, whipping cream, and vanilla and whisk until smooth. Pour into the prepared crust. Bake in the preheated oven for 45-55 minutes or until the crust is golden and the center of the pie is only slightly jiggly.
- Let the pie cool on a wire rack to room temperature. You may serve the pie at room temperature or refrigerate for at least 1-2 hours if you prefer chilled pumpkin pie. Serve with whipped cream, if desired. Enjoy!
Notes
- If using unsalted butter, add ¼ teaspoon of salt in addition to the salt called for in the crust.
- Use 1 tablespoon of a pumpkin pie spice blend in place of all the individual spices.
- 1 cup of white sugar plus 1 tablespoon of molasses can be used if you don't have brown sugar.

Leave a Comment