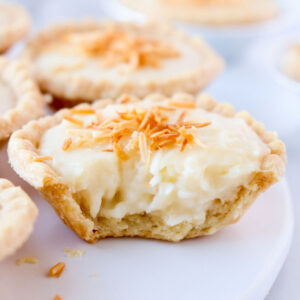
These easy Coconut Cream Tarts feature a creamy and rich homemade coconut custard naturally flavored with coconut milk and shredded coconut. Storebought tart shells are used to make this tart recipe so easy!

Coconut is one of those flavors that you either like or dislike vehemently. I wouldn't say that I'm obsessed with coconut myself, but I do enjoy some foods with coconut.
These creamy coconut custard tarts are one of the coconut foods that I do love! My Chewy Coconut Oatmeal Cookies are also pretty dang good. Also, Canadian Nanaimo Bars wouldn't be the same without shredded coconut in the crust.
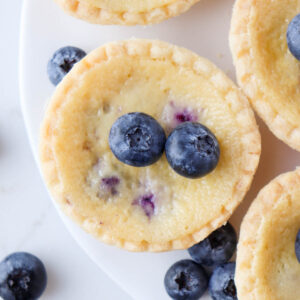
If you love making easy and delicious tarts recipes, be sure to check out my recipes for Blueberry Custard Tarts or Strawberry Rhubarb Tarts to make with fresh berries this summer or Canadian Butter Tarts which are a Christmas baking classic!
Jump to:

⭐️ Why You Need to Make This Recipe
- Creamy homemade custard. This rich coconut custard filling is made with egg yolk, coconut milk, milk, and cornstarch.
- Naturally flavored. All the coconut flavor in this recipe comes from coconut milk and shredded coconut.
- Easy and simple. This recipe can be made in under an hour, is much less fussy than making pie, and only requires about 1-2 hours to chill before serving.
🧈 Ingredients
Here are the ingredients needed to make these creamy coconut tarts.

- Tart Shells - This recipe is made with store-bought frozen unbaked tart shells. You will need to bake them before filling them with the custard. Bake according to the package ingredients until golden brown. Or you could make homemade tart shells!
- Milk - This recipe has been tested with equal parts whole milk and coconut milk but I think you could use all coconut milk for a dairy-free custard.
- Egg Yolks - We only need the egg yolks for making custard. Use the leftover egg whites to make my Dulce de Leche Meringues or Dark Chocolate Raspberry Pavlova!
- Shredded Coconut - Unsweetened shredded or desiccated coconut. Shredded coconut is longer strands of coconut, desiccated coconut has a smaller texture.
See the recipe card for the full list of ingredients with measurements.
📃 Instructions

Step 1: Bake 18 frozen tart shells according to package instructions until golden brown. Let cool. Mine bake at 350℉ for 15-20 minutes.

Step 2: Whisk together the sugar, cornstarch, and salt in a saucepan. Whisk in the milk and coconut milk.
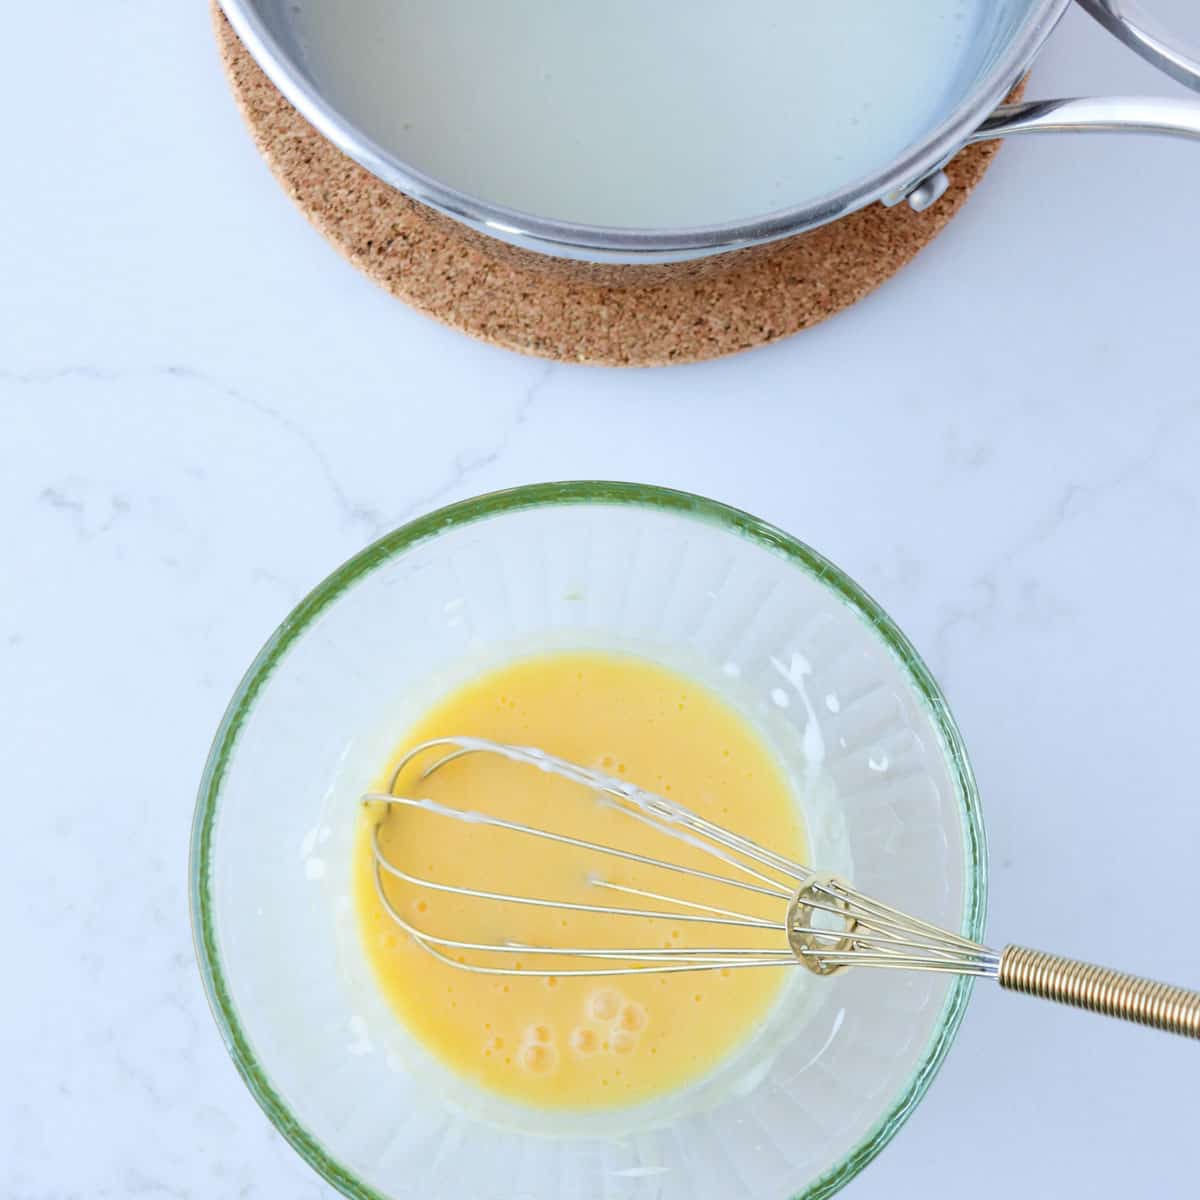
Step 3: Cook the milk mixture over medium heat until it boils and thickens. Remove from the heat. Whisk together the egg yolks in a separate bowl. Add about ½ cup of hot thickened milk mixture to the egg yolks while whisking briskly to temper. Add back to the pot and whisk until all combined.

Step 4: Whisk in the vanilla extract and shredded coconut.

Step 5: Return to the stove and cook for 2 minutes until bubbly and thick.

Step 6: Distribute evenly between all 18 baked tart shells.
Refrigerate the tarts for at least 2 hours to set before serving with whipped cream and a sprinkle of toasted coconut if desired.
💡 Top Tip
It's so easy to make toasted coconut as a pretty garnish for the tarts! Start by preheating the oven to 350℉ (or do this while you are baking the tart shells). Spread some coconut out on a baking pan and toast for 3-5 minutes (while watching very closely!) or until the coconut is golden brown.
❓ Recipe FAQs
Sure! If you have a great recipe for homemade tart shells, you could use them instead of storebought for this recipe. Make and bake until golden, let cool, and fill with the custard.
Yes, I think you could replace the amount of whole milk with coconut milk for a total of 1 ½ cups of coconut milk.
Yes! If you can find or make gluten-free tart shells, you could make gluten-free coconut cream tarts.
These tarts can safely be stored covered or sealed in an airtight container in the refrigerator for up to 3-4 days.

🥥 More Coconut Recipes
Looking for other recipes made with coconut? Try these:
If you tried these Coconut Cream Tarts or any other recipe on my website, please leave a ⭐️ star rating and write a little note telling me how it went in the comments below. Thank you!!
📖 Recipe
Coconut Cream Tarts
Equipment
- baking sheet
- measuring cups & spoons
- medium-sized saucepan
- mixing bowls
Ingredients
- 18 frozen premade tart shells *(I use unsweetened)
- 6 tablespoons granulated white sugar
- 2 tablespoons cornstarch
- ¼ teaspoon salt
- ¾ cup whole milk *
- ¾ cup canned coconut milk (stirred well)
- 2 egg yolks
- 1 teaspoon vanilla extract
- ½ cup unsweetened shredded coconut
Instructions
- Bake tart shells according to the package directions. (I bake mine at 350℉ for 20-25 minutes or until lightly golden brown.) Let cool while you make the custard.
- Whisk together the egg yolks in a small bowl. Set aside. In a medium-sized saucepan, whisk together the sugar, cornstarch, and salt. Add the milk and coconut milk and whisk until fully incorporated. Place on the stove over medium heat and cook, whisking constantly until the mixture begins to thicken and just starts to boil. Remove from the heat.
- Temper the egg yolks by slowly adding about half of the hot thickened milk/cornstarch mixture to the bowl while whisking quickly. Add the tempered egg mixture back into the pot and stir in the shredded coconut and vanilla extract. Turn the heat on to medium again and whisk constantly until the mixture begins to bubble and registers at least 165℉(74℃) on a candy or meat thermometer (to ensure the egg yolk is fully cooked).
- Distribute the hot custard evenly between the baked and cooled tart shells. Let cool for about 10 minutes before covering with plastic wrap. Refrigerate for at least 2 hours to allow the custard to fully chill and set. Serve topped with whipped cream, if desired. Enjoy!
Notes
- This recipe has been tested with equal parts whole milk and coconut milk but I think you could use all coconut milk for a dairy-free custard.
- You may use homemade tart shells or even gluten-free tart shells instead.



Hailey Galloway
If you’re coconut obsessed like me, you need to make these! 10 out of 10 the best coconut cream tarts ever. They are perfectly balanced in sweetness, and texture and are SOO easy to make. I used store bought whipped cream to top and I can’t keep my paws off them. Thank you for sharing this recipe, I’m looking forward to making more things from you!
Naomi Andres
I’m so happy you enjoyed this recipe, Hailey! Thank you for taking the time to leave a comment!
Naomi